ESW-CHG4/ESW-CHG5
Checking the network mode
-
Quickly press the reset button.
- The power indicator lamp flashes.
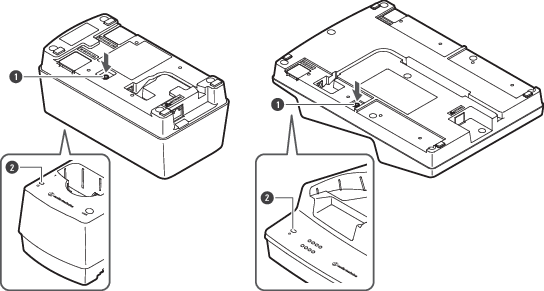
- Reset button
- Power indicator lamp
Power indicator lamp display Network mode Flashing in green (five times) Auto Flashing in cyan (five times) Static
Resetting the network
The following network settings will be returned to their factory default values. This is useful in, for example, returning the network mode to “Auto” when the IP address is unknown.
- IP Setting
- Remote Control
- Syslog
- NTP Setting
-
Press and hold the reset button for approximately 3 seconds, and then release the button.
- The power indicator lamp lights alternately in blue and cyan.
- Reset button
- Power indicator lamp
-
Quickly press the reset button while the power indicator lamp is lighting alternately in these colors.
- If no operations are performed for approximately 5 seconds after the power indicator lamp starts lighting alternately, the device will return to normal operation mode.
A network reset will be executed. After the network reset, the device will automatically restart.
|
|
|
|---|
Performing a factory reset
All settings will be returned to their factory default values.
-
Press and hold (8 seconds or more) the reset button.
- The power indicator lamp lights alternately in green and cyan.
- Reset button
- Power indicator lamp
-
Quickly press the reset button while the power indicator lamp is lighting alternately in these colors.
- If no operations are performed for approximately 5 seconds after the power indicator lamp starts lighting alternately, the device will return to normal operation mode.
A factory reset will be executed. After the factory reset, the device will automatically restart.
|
|
|
|---|
|
|
|
|---|
Switching to power-saving mode
You can use this device in power-saving mode, which lowers the current consumption.
- The device does not connect to the network in this mode, so it is not possible to update the firmware, check the network mode, reset the device, and perform similar operations.
- To lower the current consumption, the power and status indicator lamps are darker than in the normal mode.
- In power-saving mode, the status indicator lamp turns off when the transmitter is fully charged.
- In power-saving mode, it may take some time (approximately 10 seconds) before the charging of the transmitter starts. You can start this charging immediately by quickly pressing the LINK button.
-
Check that the charging station is not connected to the network.
- When it is not connected to the network, the charging station’s power indicator lamp lights in blue.
-
Press and hold (approximately 3 seconds) the LINK button and the reset button at the same time.
-
When the power indicator lamp flashes, release these buttons.
The device switches to power-saving mode.
|
|
|
|---|